Baby onesies are a great option for making sure your foreleg tripawd is covered while they get their hop back after surgery, but if you’ve ever put a onesie on a cat you’ve probably noticed that they can Houdini their way out of them pretty easily, especially when they only have one shoulder blade.
Most onesies are designed with with shoulder flaps both for babies enormous heads and to make it easier to take the garment off if the bottom part is otherwise engaged (one parenting website refers to the situation as a “blowout” which is about as evocative as I prefer to know).
When repurposing a onesie for a cat you can actually use those flaps to make a fitted neckline so your kitty can’t wiggle out. This can be done with some hem tape, an iron, and a little practice – no sewing required!
Before we start, this is just what worked for me and Lu, your situation may be different.
If you have any questions about if this might be right for your cat and situation, always consult with your vet to determine if this is appropriate and safe.
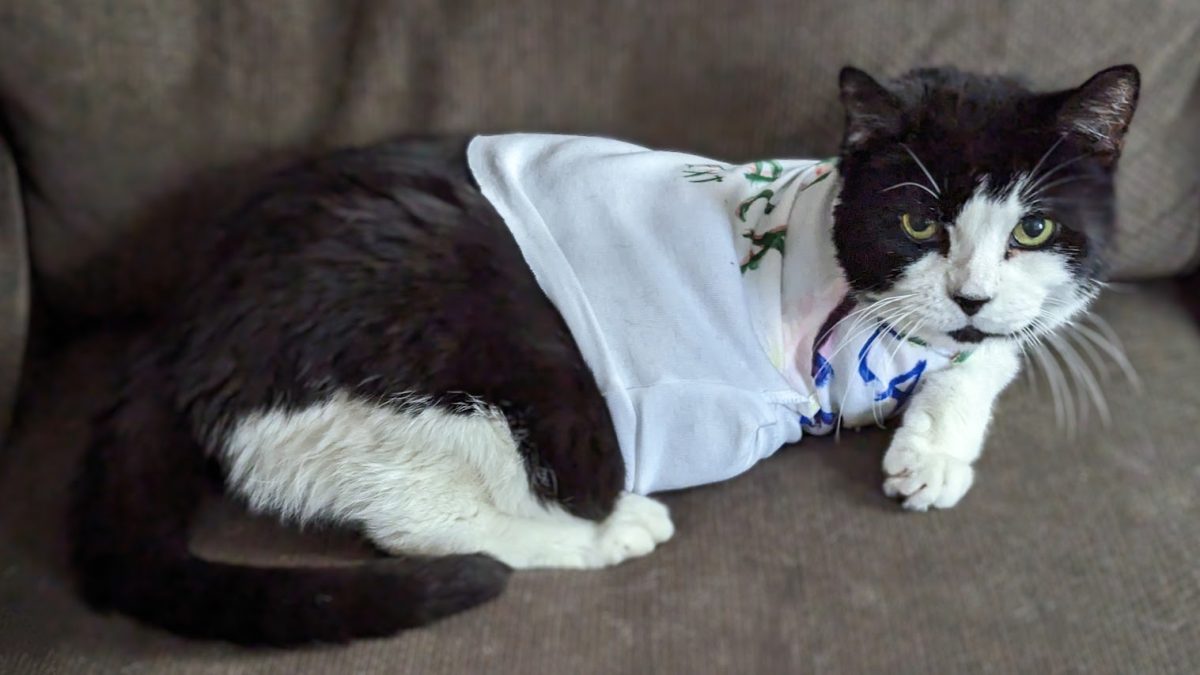
The Lu Suit
Materials
- Baby Onesie with shoulder flaps
- Scissors
- Nontoxic marker
- Iron & Ironing Board
- Nontoxic iron on hem tape
Sizing
Generally, be careful with anything you put on your cat – make sure they’re comfortable. Nothing should ever be tight or restrict movement, and it should be easy for you to get the onesie on and off over their head (their willingness notwithstanding).
You can find sizing for baby onesies online, and roughly match that to the diameter of your cat’s chest. When in doubt, size up.
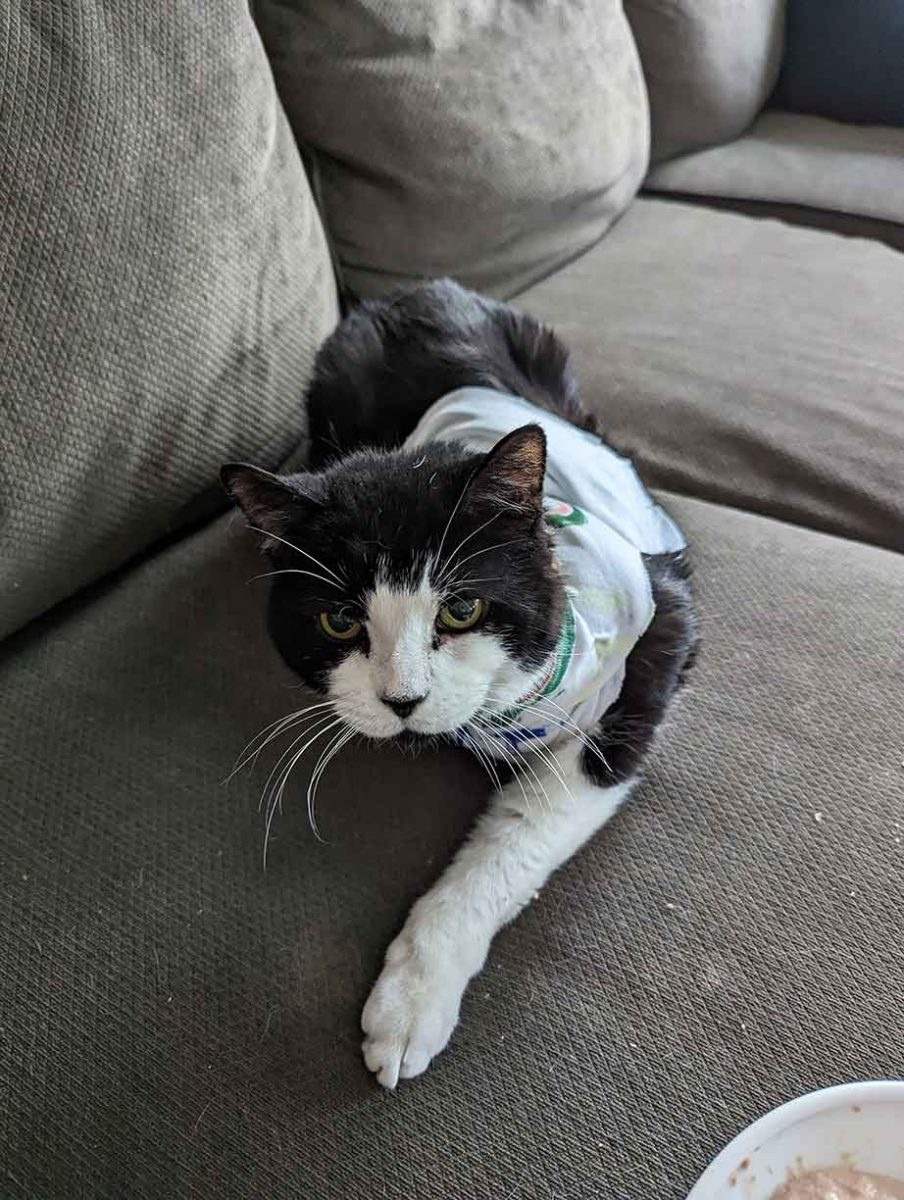
Luanne’s a larger cat and comfortably wears a 6 month onesie.
Getting Started
Start off with the cheapest onesies you can find and expect to cut a few up as you figure out the best fit for your cat. It’s a process!
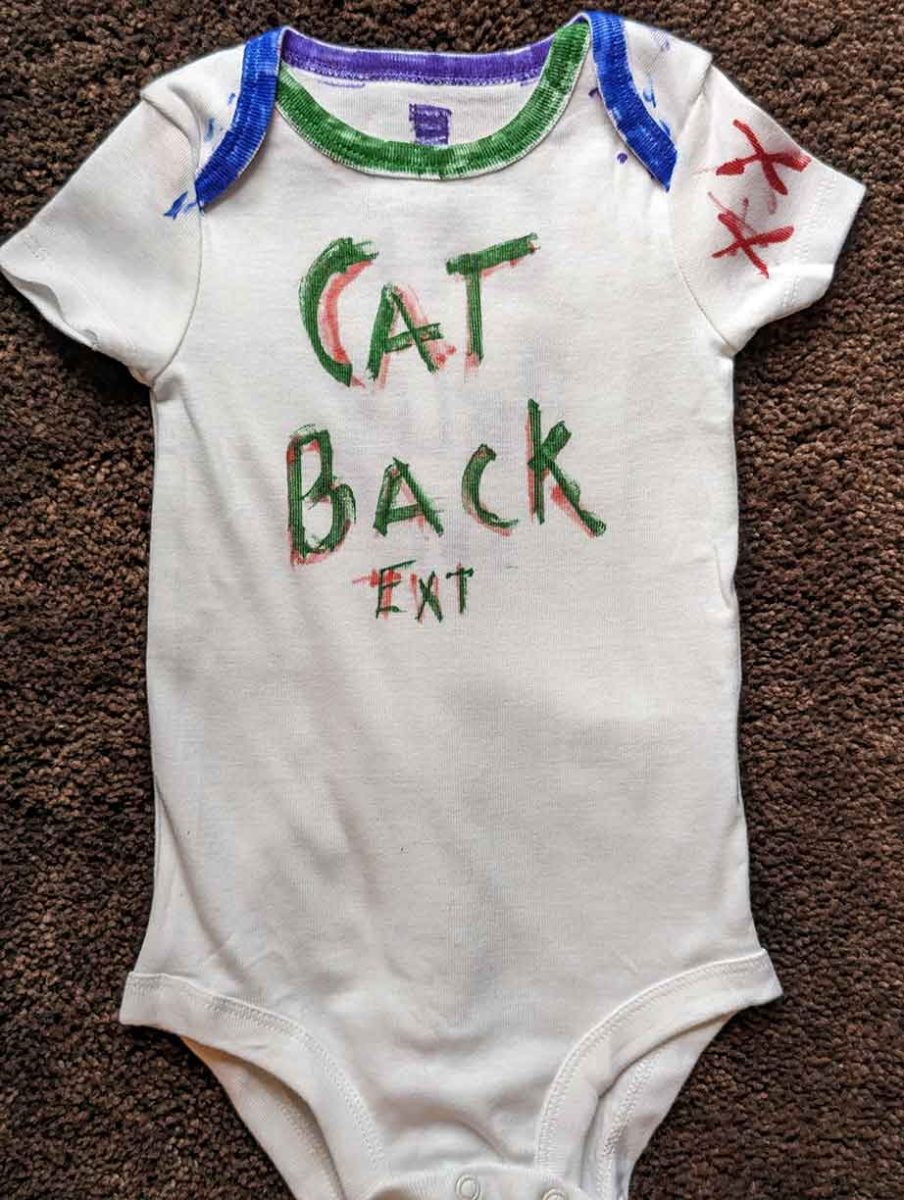
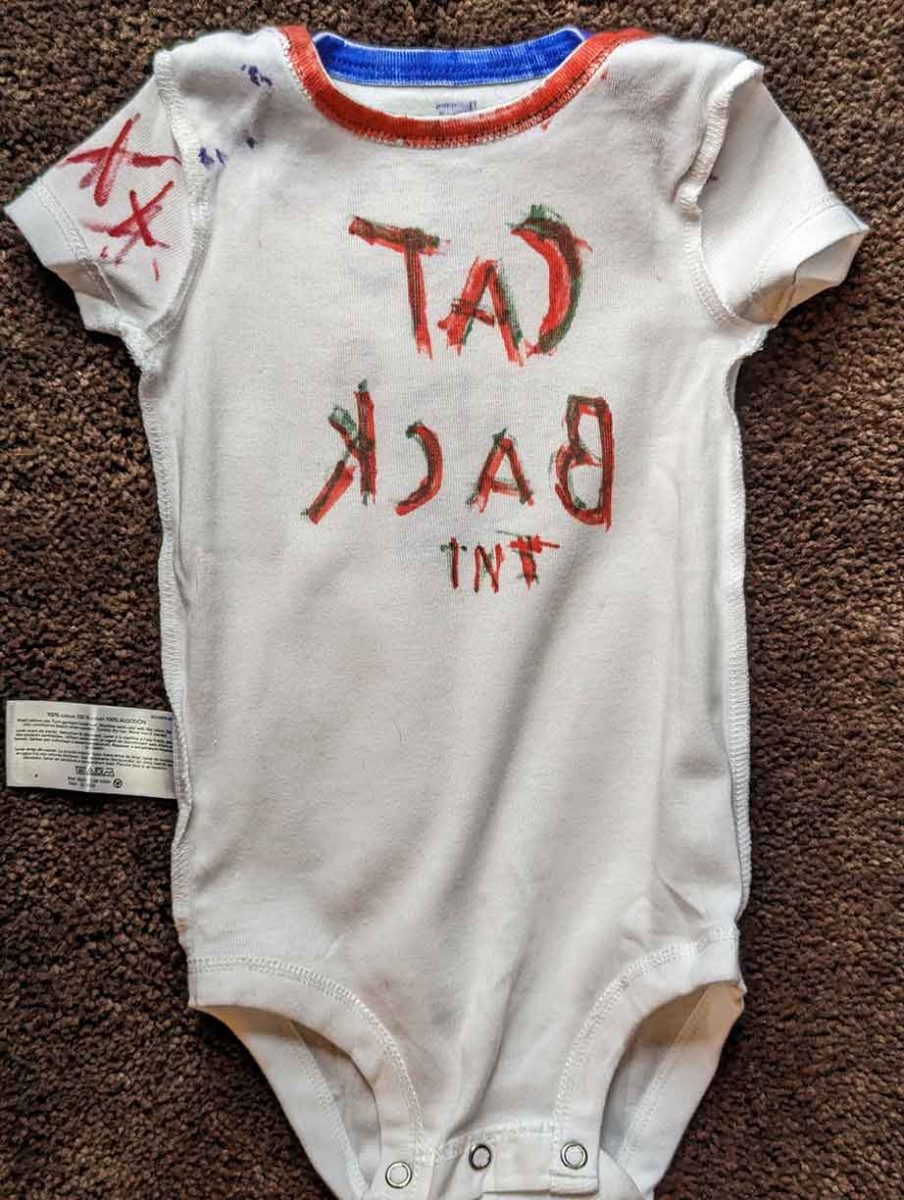
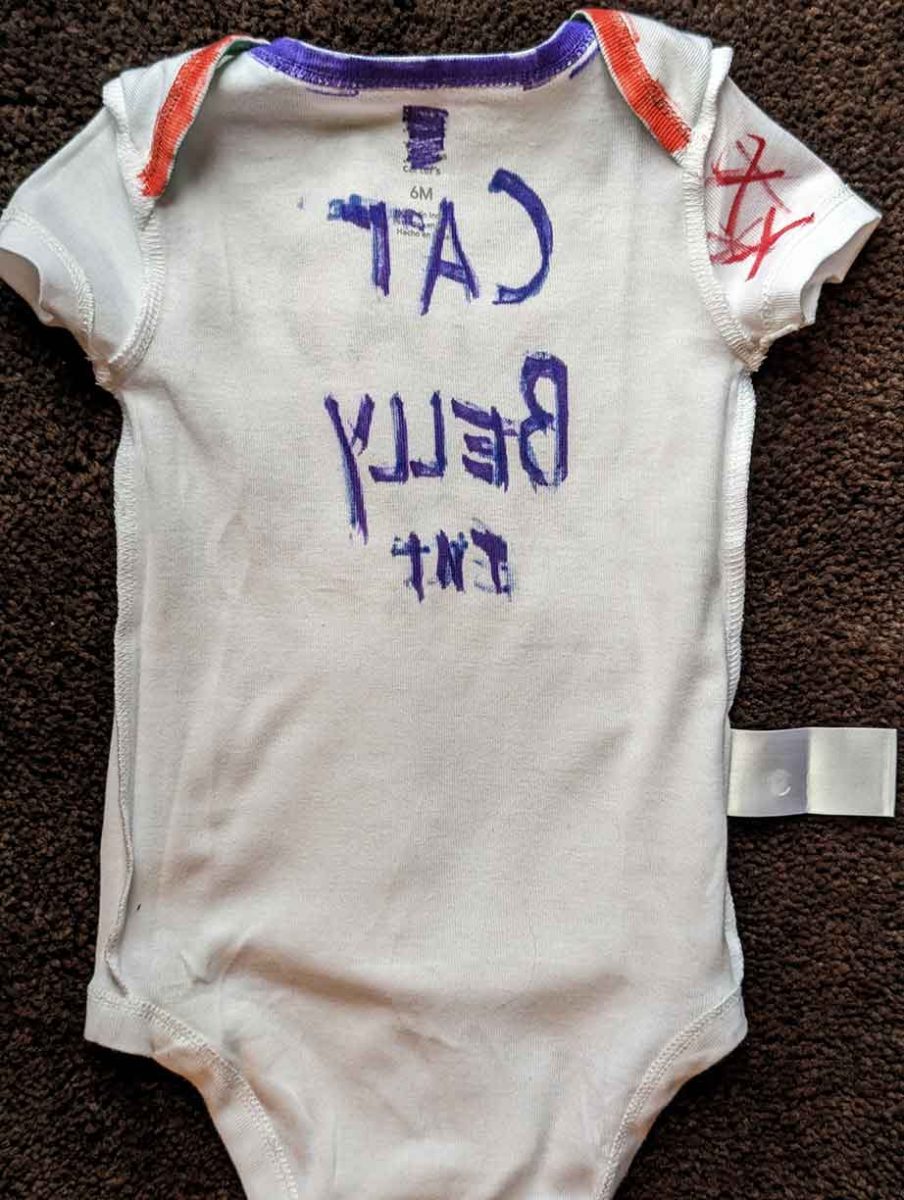
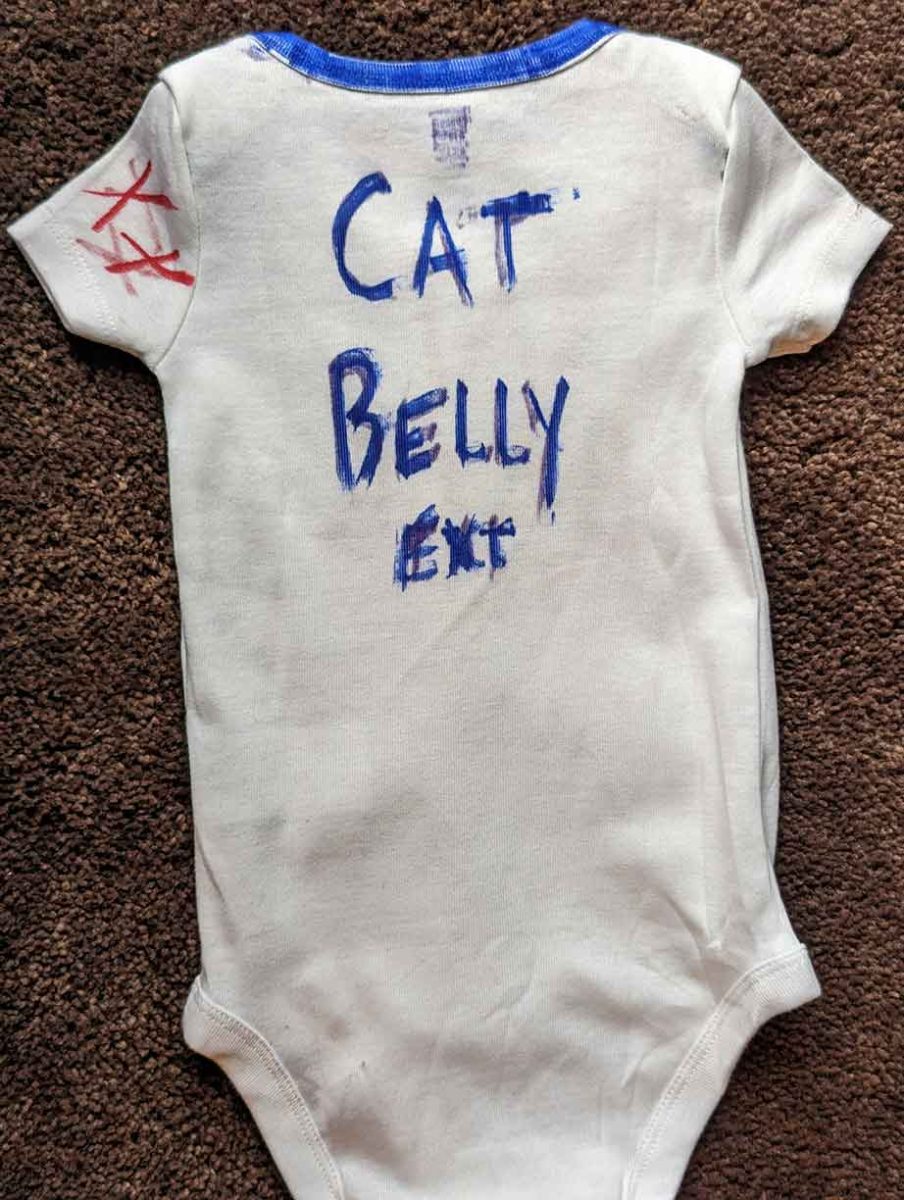
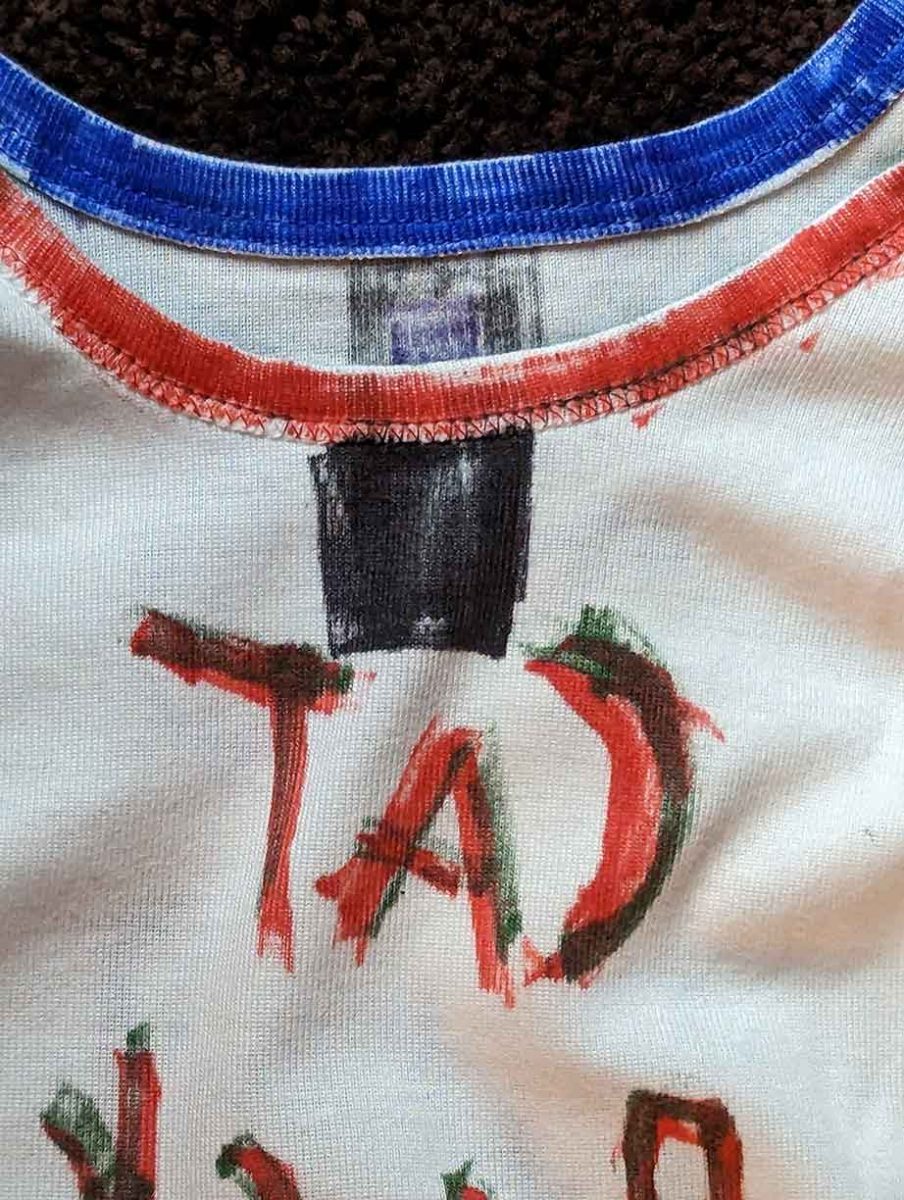
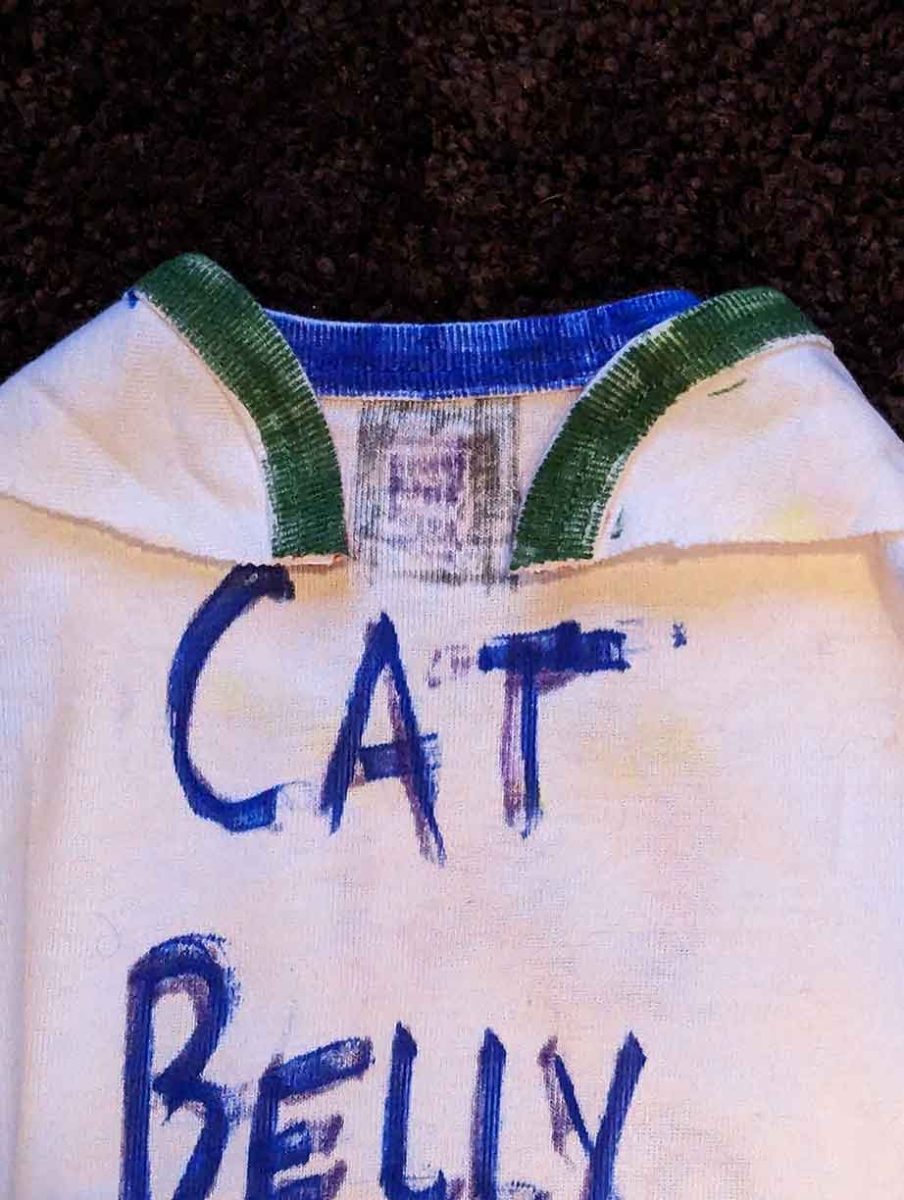
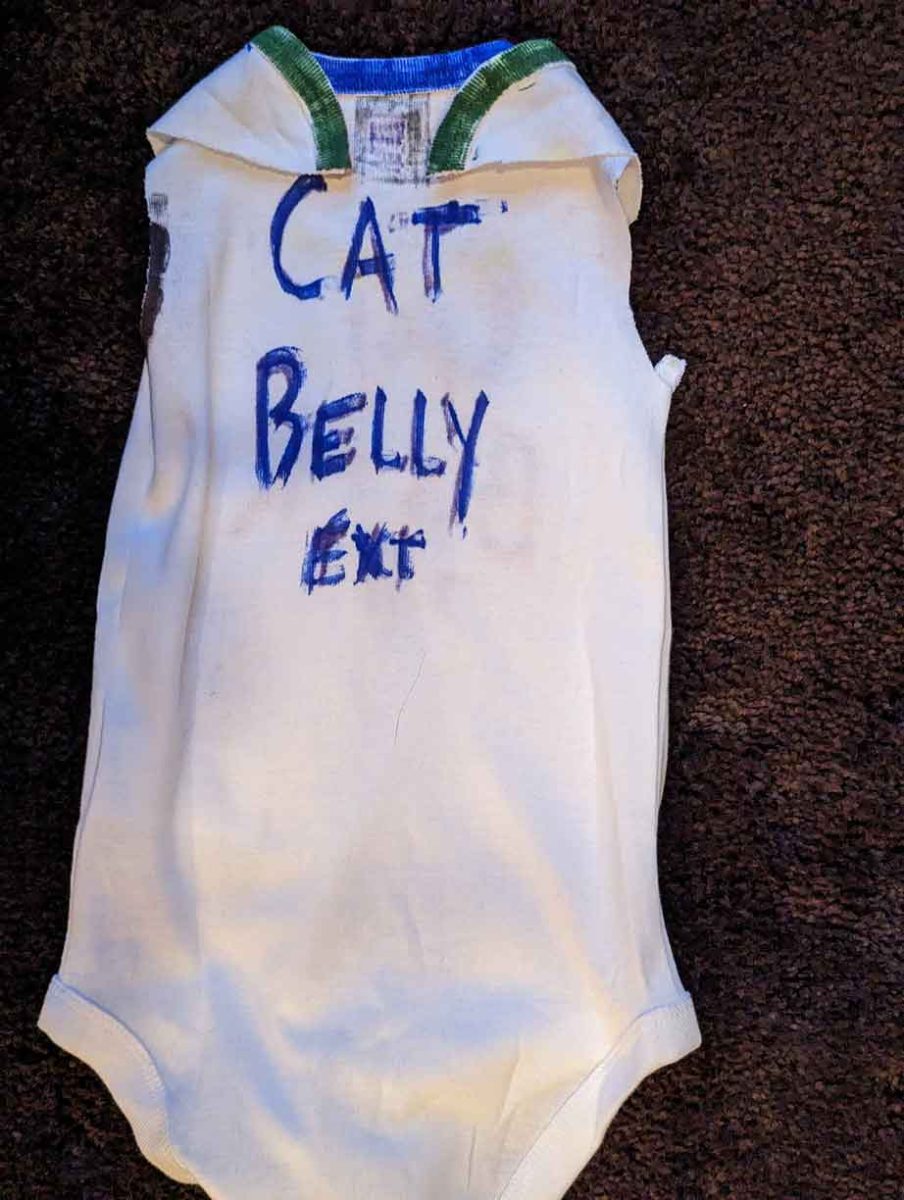
It’s also a huge help to clearly mark the front and back, interior and exterior of the garment and the arm that covers your kitty’s incision. The front of the onesie (for a baby) can be marked “cat back” and the other side labeled “cat belly”. I’ve made a bunch of these and I’ve had to pull up hem tape more than once because I got flipped around.
For the purposes of this tutorial here’s the color coding:
Make the Wings
Turn the garment inside out, the purple “cat belly interior” marking should be facing up, but the green / orange flaps should be on top.
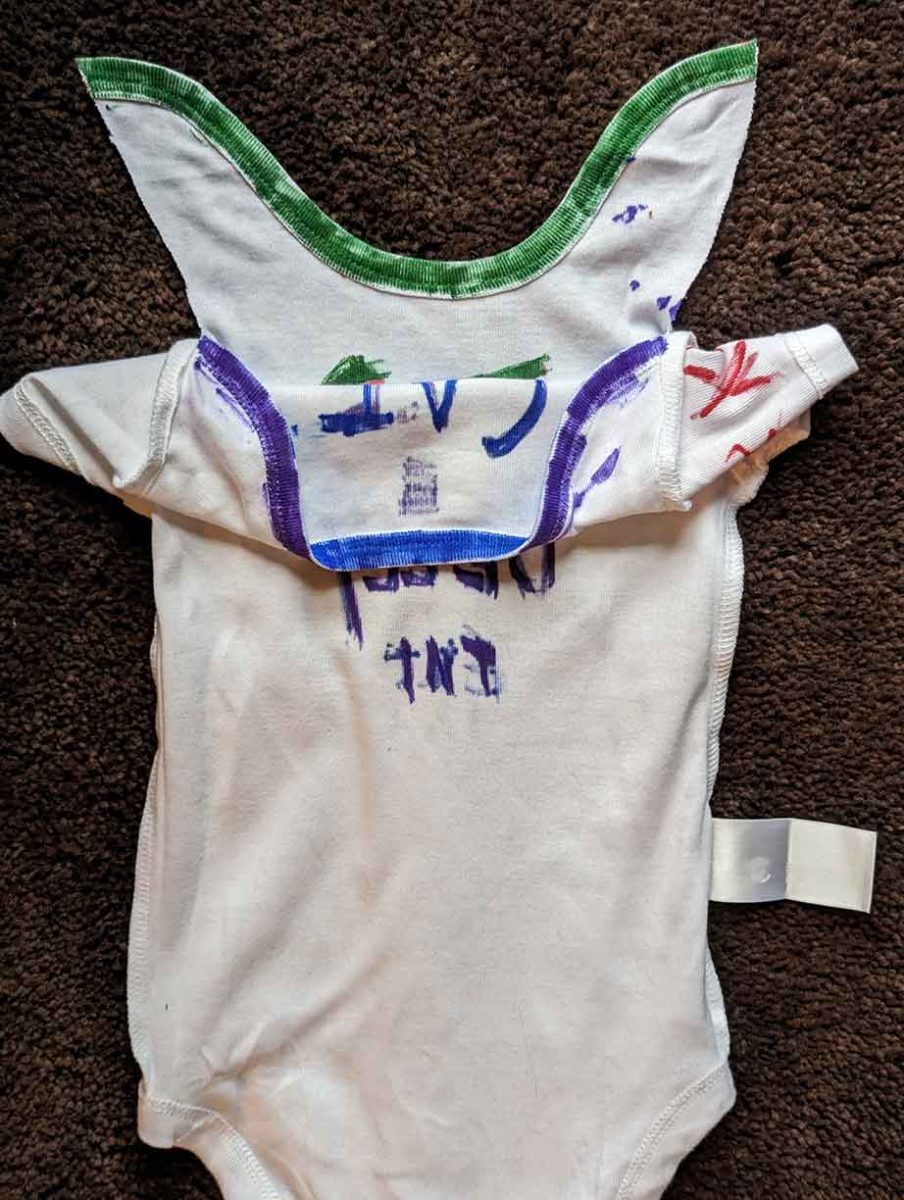
Cut the flaps away from the garment at the seam. make sure not to cut into the seam, just to the point that the other set of flaps start.
Then flip the garment and cut the other flaps away from the garment, following the seam around each arm hole completely until the sleeve is removed.
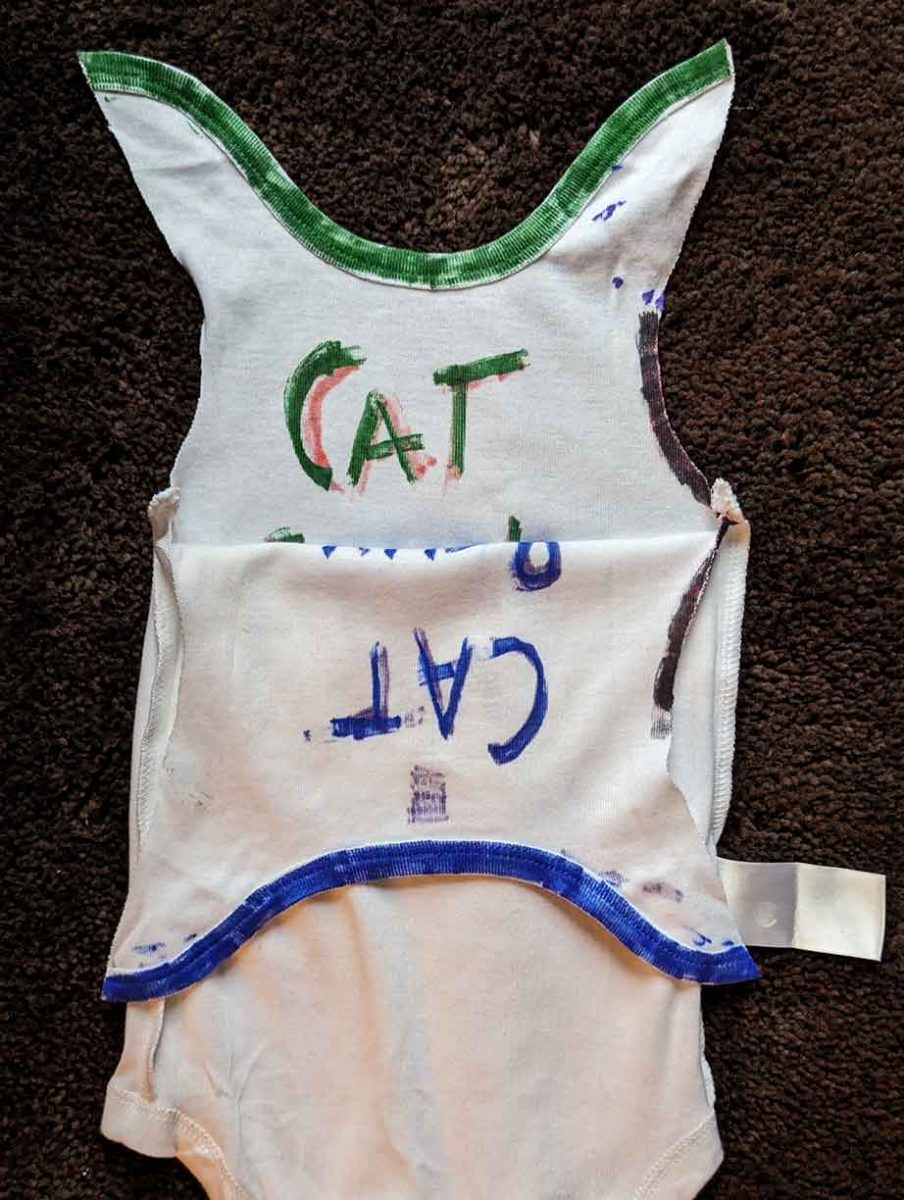
You should now have two matching sets of “wings”
Make sure you still have the side of the garment that will be over your cat’s incision clearly marked.
Shape the Neckline

With the purple interior belly side towards you, mark about an inch on the midline of the collar – usually this will center over a printed label so it should be easy to index.
Flip around to the orange interior back and mark an inch with the same placement.

Use about two inches of hem tape to fuse the blue / purple wings to the neckline of the onesie, lining them up on either side of your marks – leave the gap in the middle free.
Once it cools, the fused fabric should be firmly affixed but still have some stretch to it.
Turning the garment right side out again, with the blue exterior belly up, secure the other two wings in the same way as the others – on the opposite side of the fabric from where you marked – leaving the inch gap in the middle free.
You should now have a more fitted neckline that has a bit of give but doesn’t come apart with a light tug.
Adapting for a Tripawd
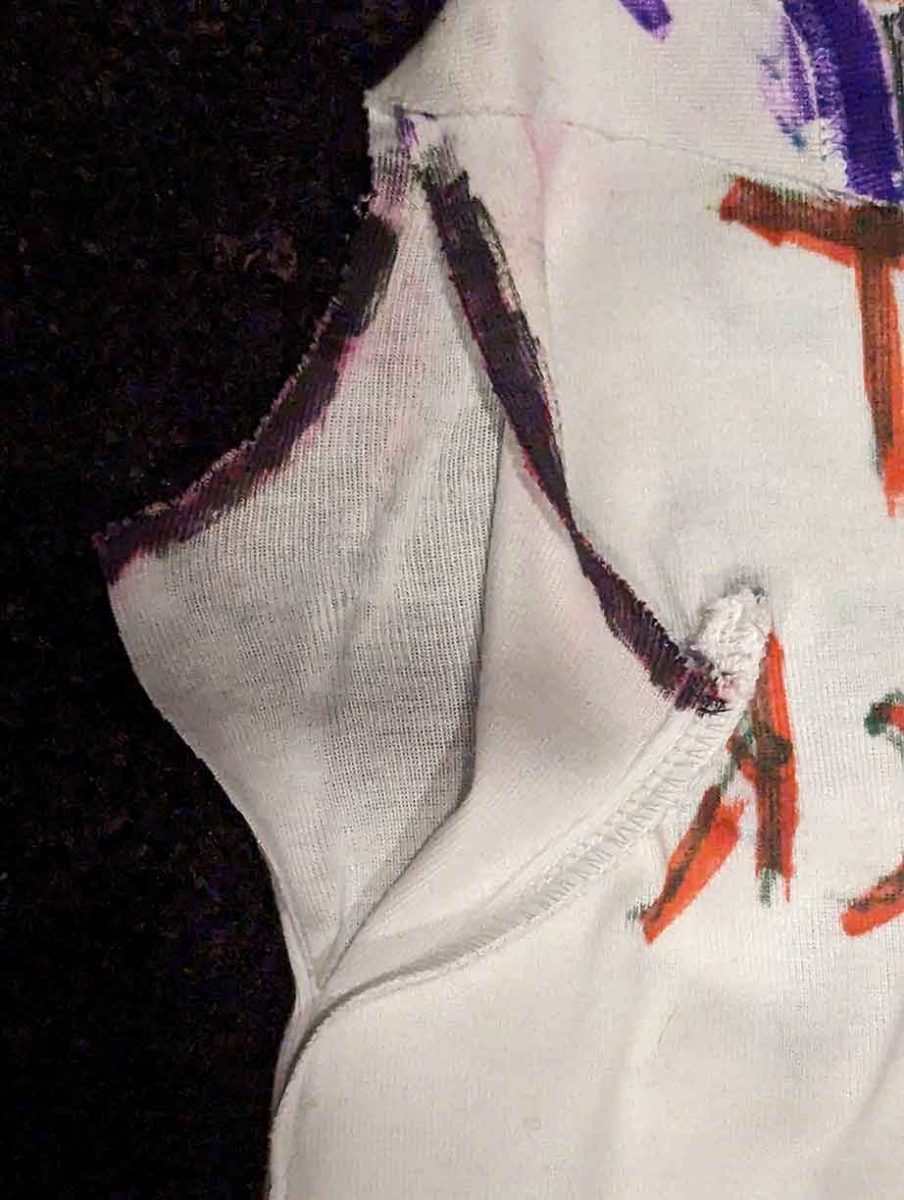
Now, cut about three inches down from the arm hole on the side of the onesie that covers your cat’s incision.
With the blue belly exterior side on top, Fold the belly side of the cut under the back side and fuse with a long piece of hem tape.
Cut away any labels, then the snaps / leg hem in a straight line at the hips.
Make sure there aren’t any hanging threads or seams, and that all hem tape is fully fused.
Testing the Fit
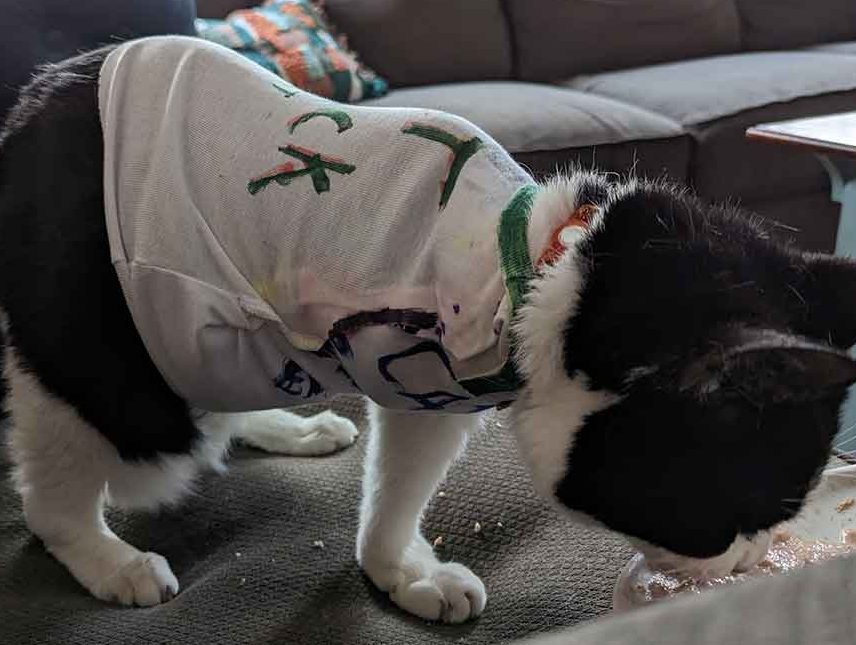
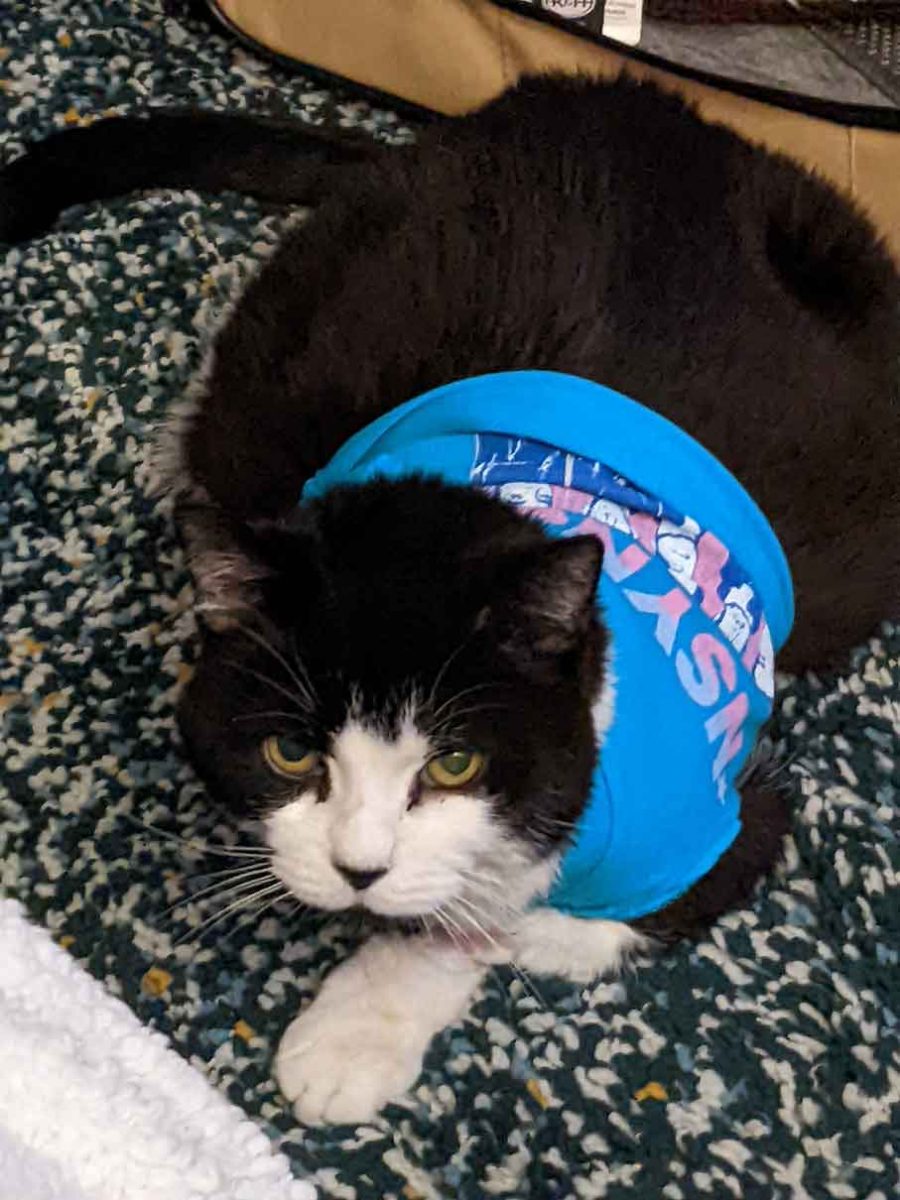
Now put it on your tripawd and see if they’re comfortable while offering effusive praise for their bravery.
I’ve found it easiest to get it over their head first, then pull gently down the body and pull the foreleg through the arm hole quickly but with care.
Make sure you can fit at least two fingers between their body and the onesie, especially at the neck.
Any collar should always be worn outside of the garment.
And voila! You have a fashionable feline that can’t wiggle out of their onesie.
Variations
This is the most basic version and will get the job done, but there are other ways to make a tailored shirt or elevate this design so it looks more refined.
- cut completely down the side seams and reattach to get a much more even, tailored look
- Take some extra care with the collar so it lays very flat and cleanly
- Use a dog shirt and just fuse one arm for something designed for an animal body with minimal alterations (these get surprisingly expensive though!)
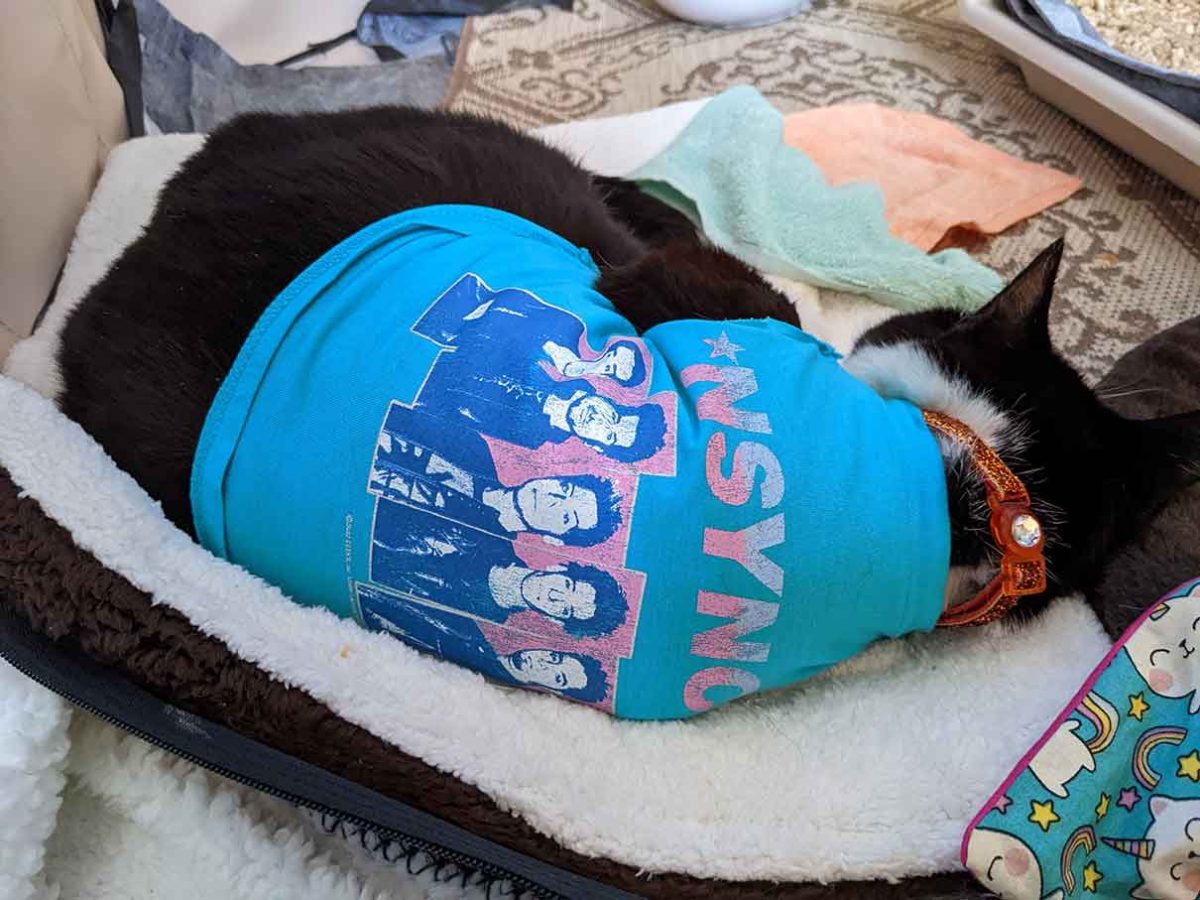
- Also since most onesies with a graphic put it on the baby’s front it will be ready made to display on your kitty’s back.
WOW! Just had a chance to dig into your detailed instructions and cannot thank you enough! You are a pawesome teacher and I know without a doubt that MANY folks will appreciate these instructions. Thank you and thank Lu for cooperating with the photo shoot! This is wonderful!